December, 2022
Frame Analysis of Graphics Pipeline

Modern game engines such as Unity and Unreal have made 3D graphics more accessible than ever. In the process they have made it hard to know how things actually show up on the screen. How do games look more realistic now? To help answer this, I thought I would show each of the processes my own engine takes to create a frame.
Materials
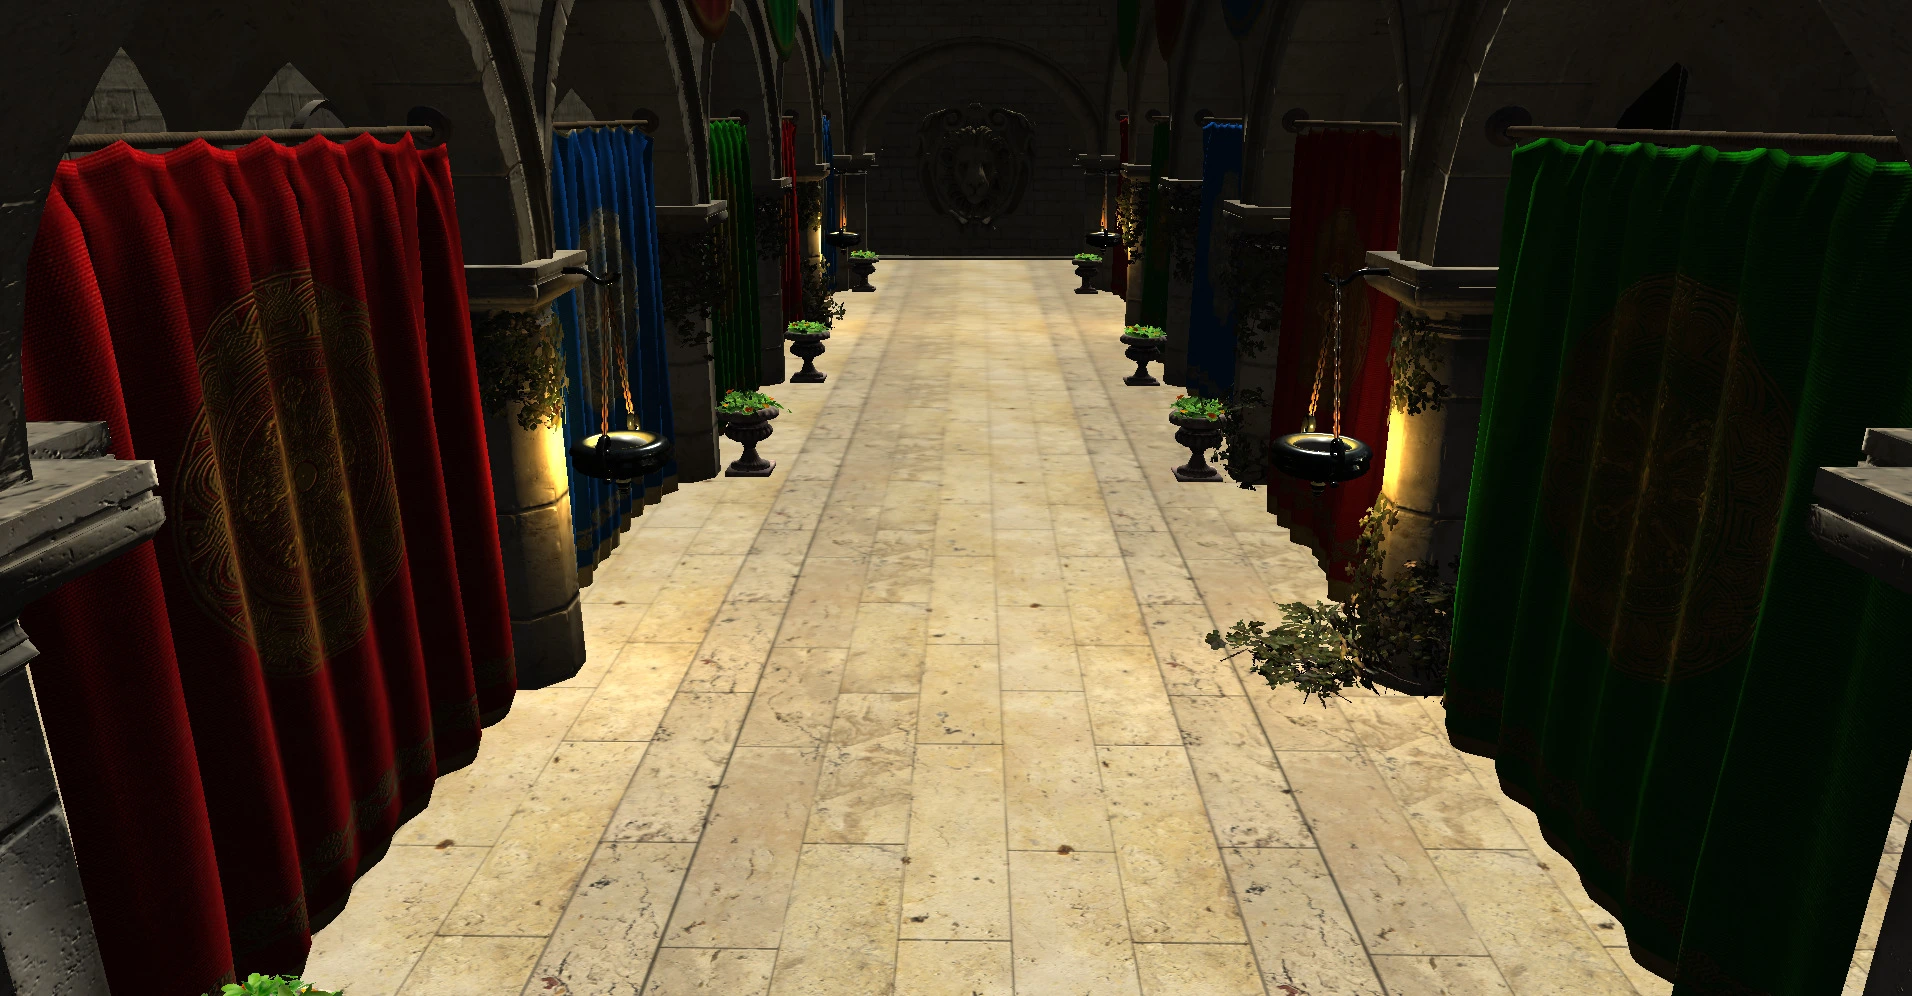
Rendering the scene with point and directional lighting only.
The first step is rendering all the objects with their correct materials. This involves switching between shaders to draw different materials with different lighting models and making sure each material reacts correctly to the point and directional lights in the scene. I am skipping over a lot here because this is a topic which deserves a better explanation, Google's Filament documentation is a great resources for understanding materials and lighting.
At this stage things looks either way too dark or way too bright, that's mainly because of tonemapping. Tonemapping is one of the last steps and it will transform the image from a high dynamic range (HDR) to something most screens can display.
Shadows
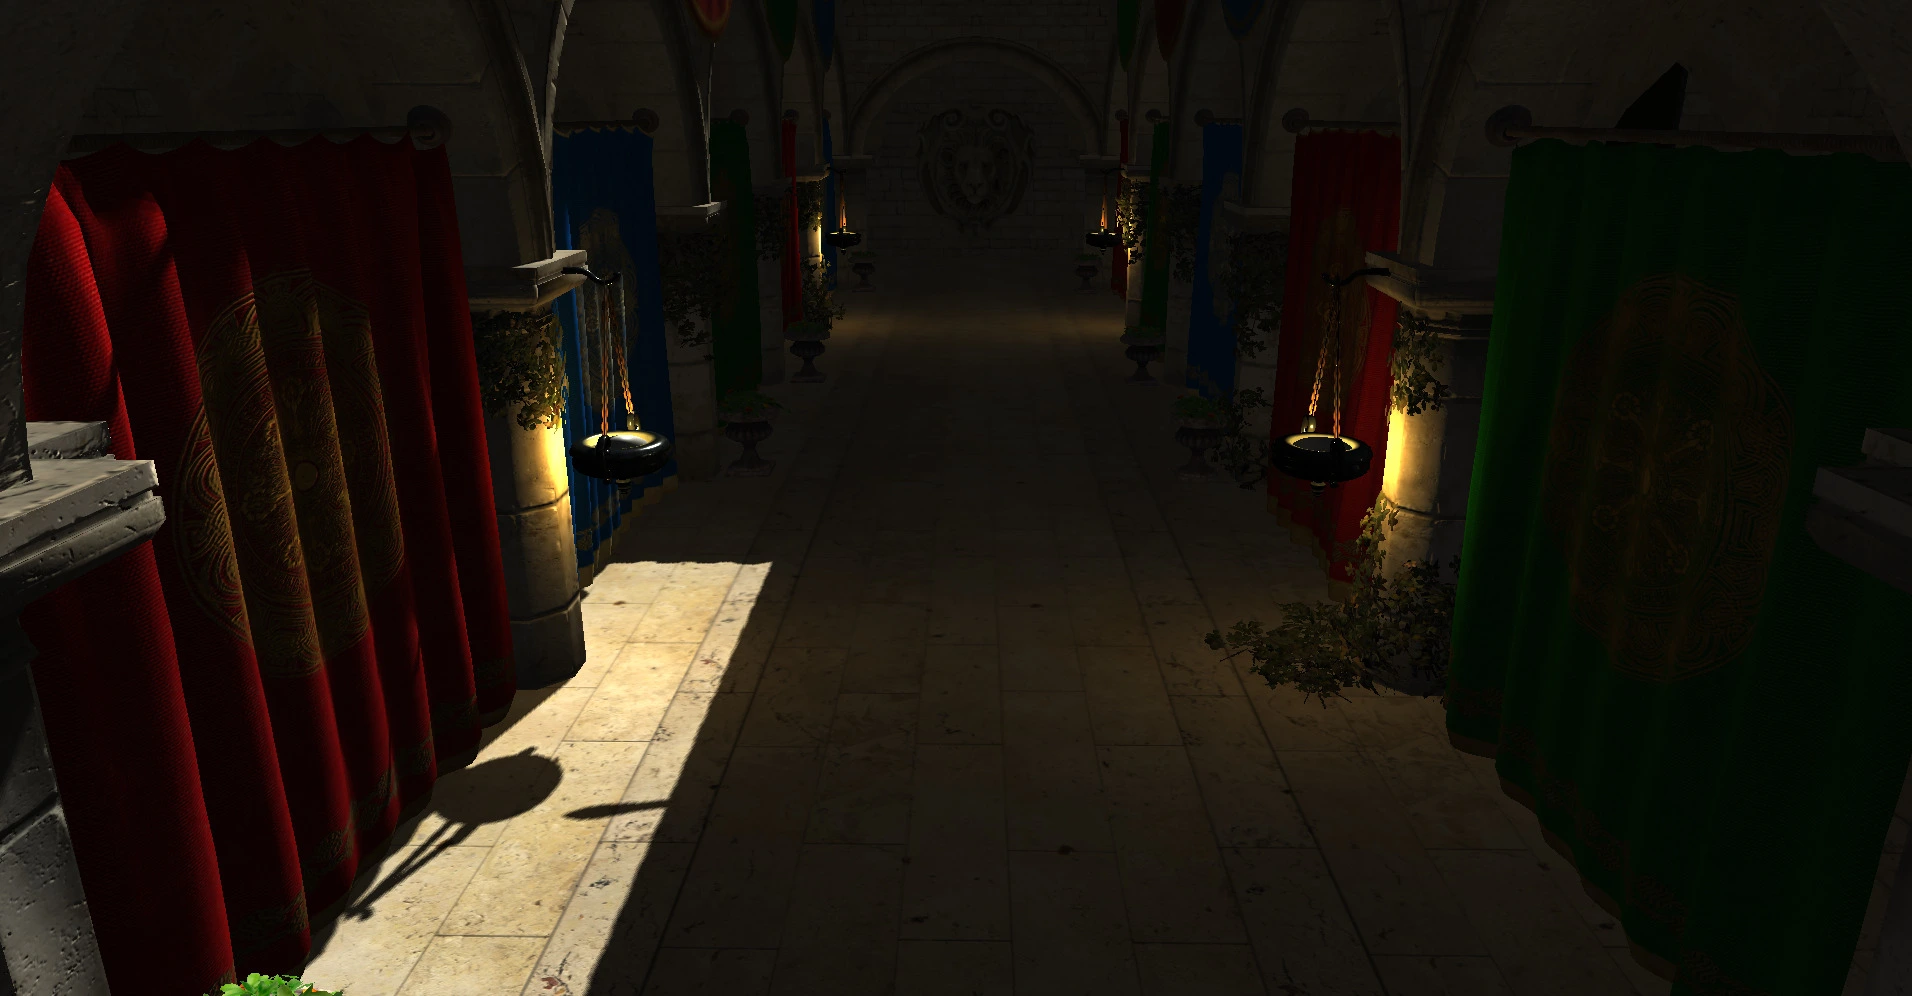
Base render with directional shadows added.
To add shadows I sample a cascaded shadow map, this allows a shader to know if a point should be in shadow. Being in shadow in this case means that the directional light contribution is zero, because point lights don't cast shadows (shadows are very expensive so reducing the number of casters is important).
Cascaded Shadow Map
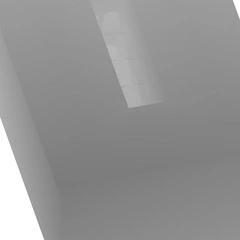
Nearest slice of the cascaded shadow map.
The cascaded shadow map is a depth only pass which happens before rendering, it stores the relative depth of geometry from each directional light's perspective. A point can be projected into the light's view and it's depth compared with the depth map to determine if the point is in shadow. If you're curious, the shadow shader (ignore the vegetation, skeletal animation and clipping) and the sampler which reduces aliasing from sampling the shadow map.
Volumetrics
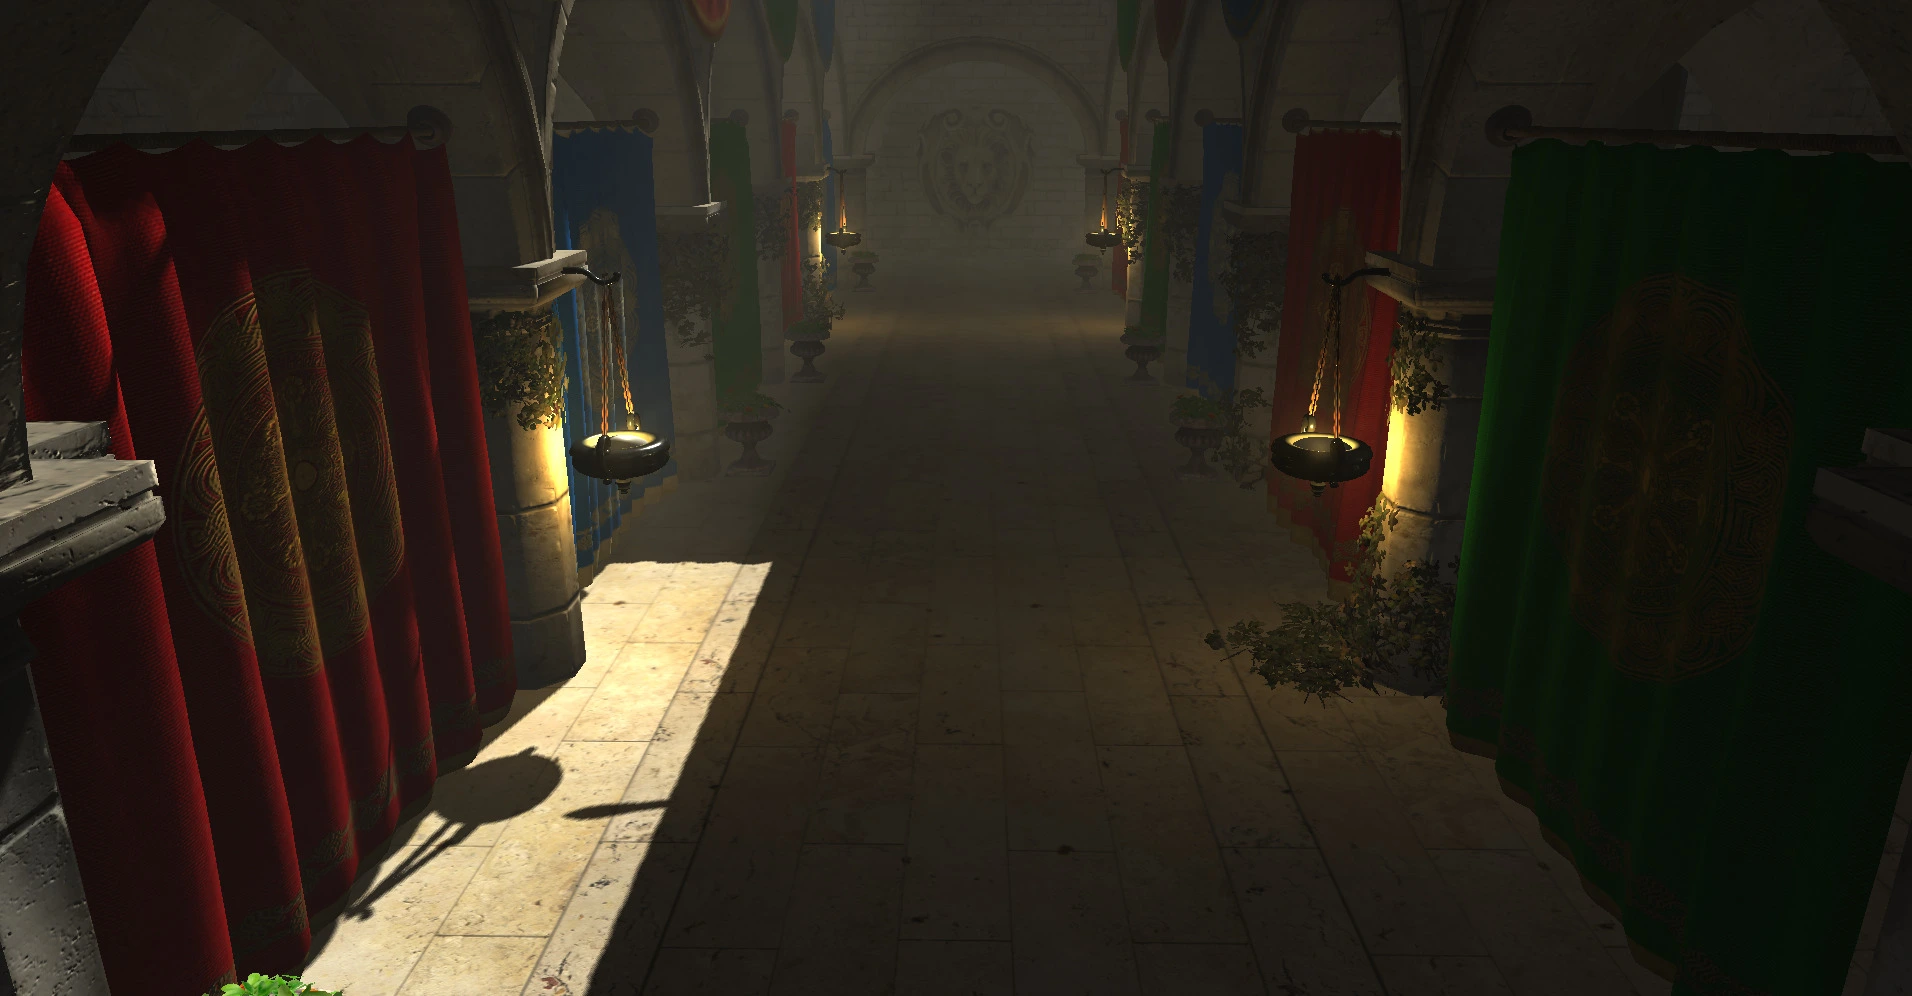
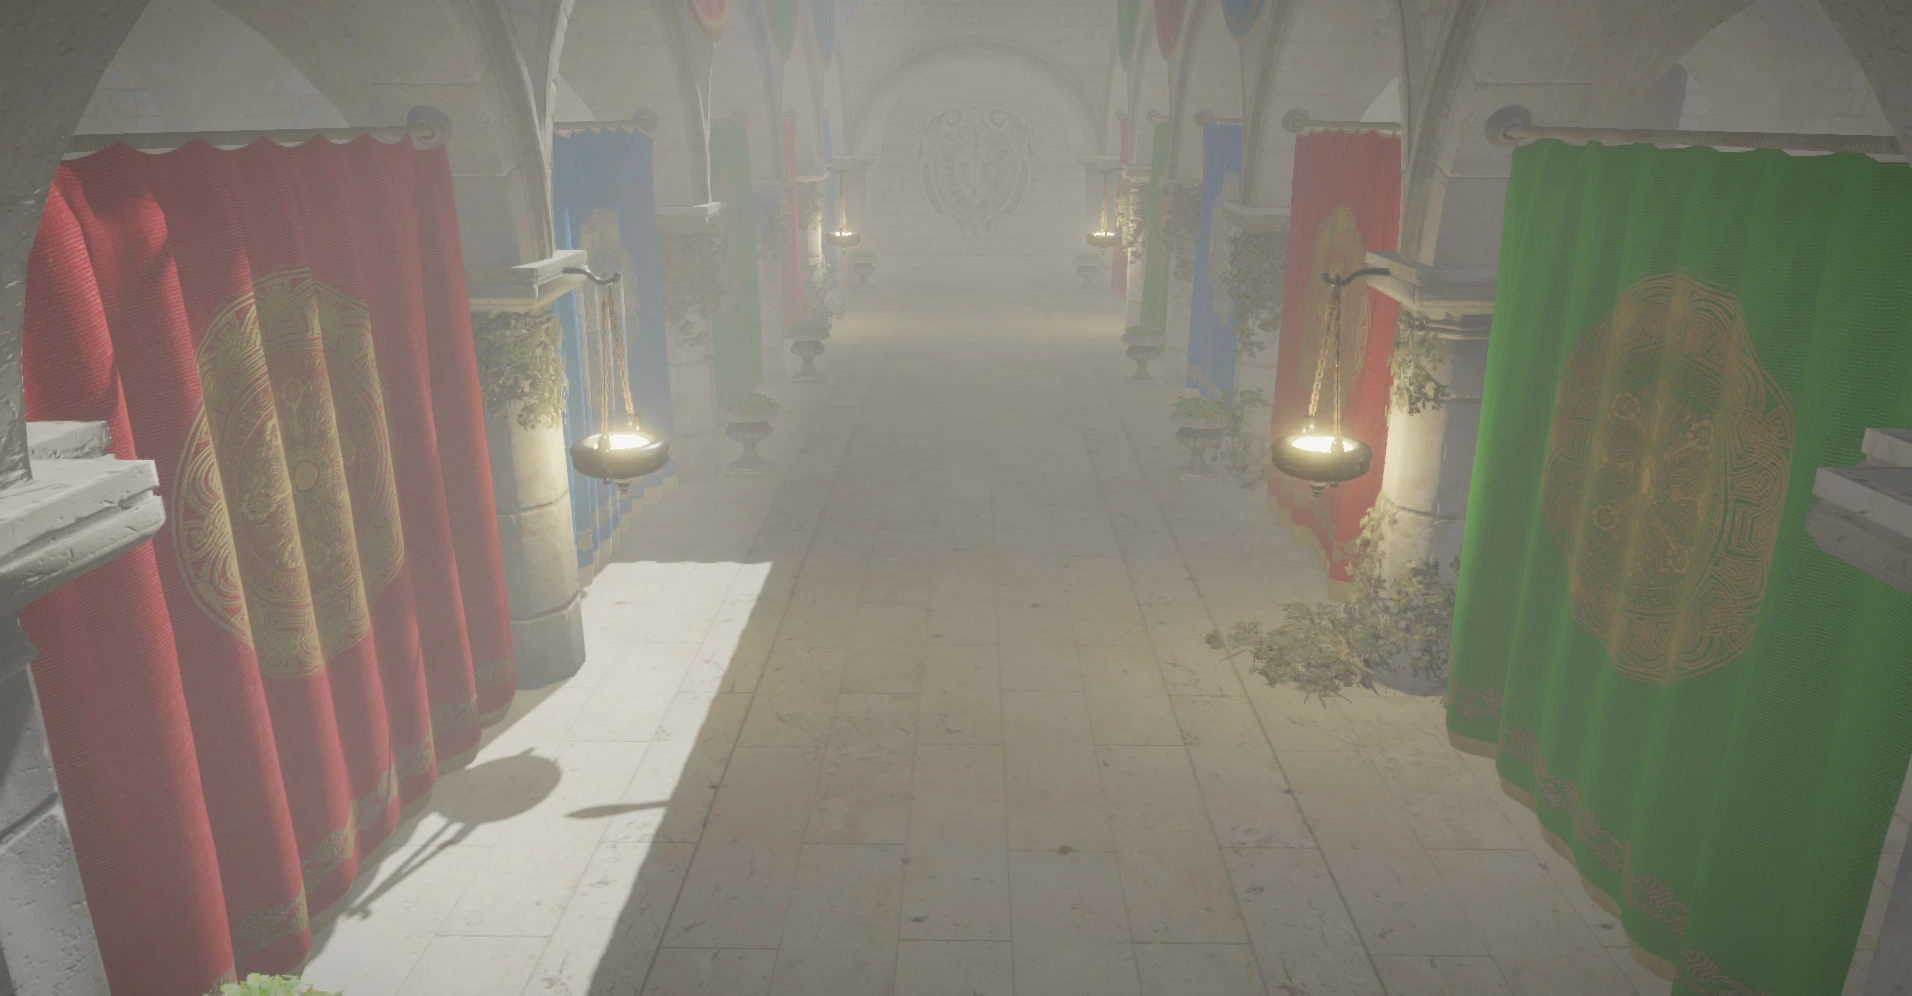
Addition of volumetric fog effects.
Each point also samples an accumulated volumetric fog color which is added to the resulting color. This adds a sense of depth to the lighting by roughly approximating in-scattering due to particulates in the atmosphere (such as the small water droplets in fog). This has the byproduct of adding some extra ambient lighting.
Volumetric Integration

A slice of the raymarched volumetric 3D texture
This accumulated color is computed by marching rays through the camera's frustrum, accumulating color and density in a low resolution 3D texture. The fog density is generated by noise here, but could also follow more advanced rules. This technique was created for EA's frostbite engine which they documented or you can see my compute shaders, which I broke into two steps: volume integration and raymarching.
Post Processing
Most of the effects I apply should be familiar to anyone who has opened 3D games' settings, so I am going to move quickly over them. All these post processing steps are fairly simple, if fiddly, and can be found in a single shader for my engine.
Antialiasing
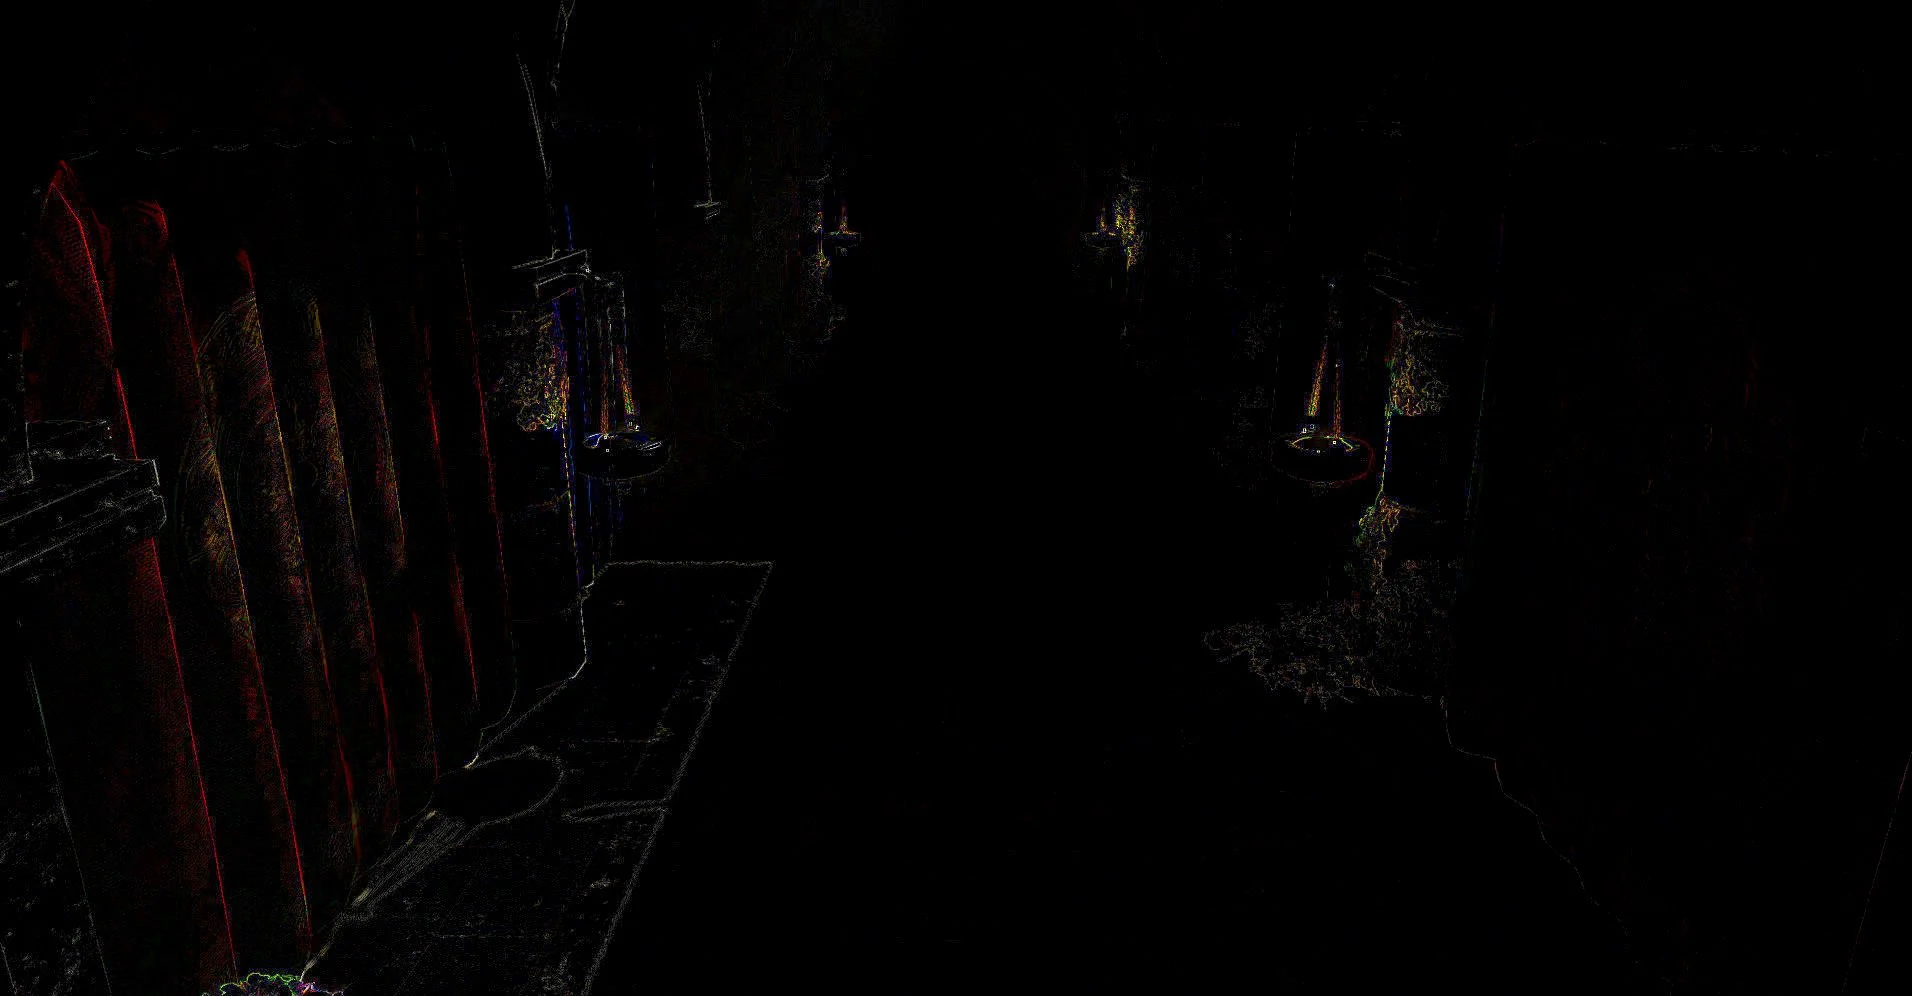
Contribution of fast Approximate Anti Aliasing (FXAA) and multisampling. Gamma and contrast have been adjusted to highlight the effect.
Antialiasing reduces the jagged edges created during the rasterization process. FXAA is a screen space effect which was developed by NVIDIA which essentially blurs jagged edges. It is becoming less important with the development of temporal antialiasing techniques and deep learning based super-samplers (DLSS).
Bloom
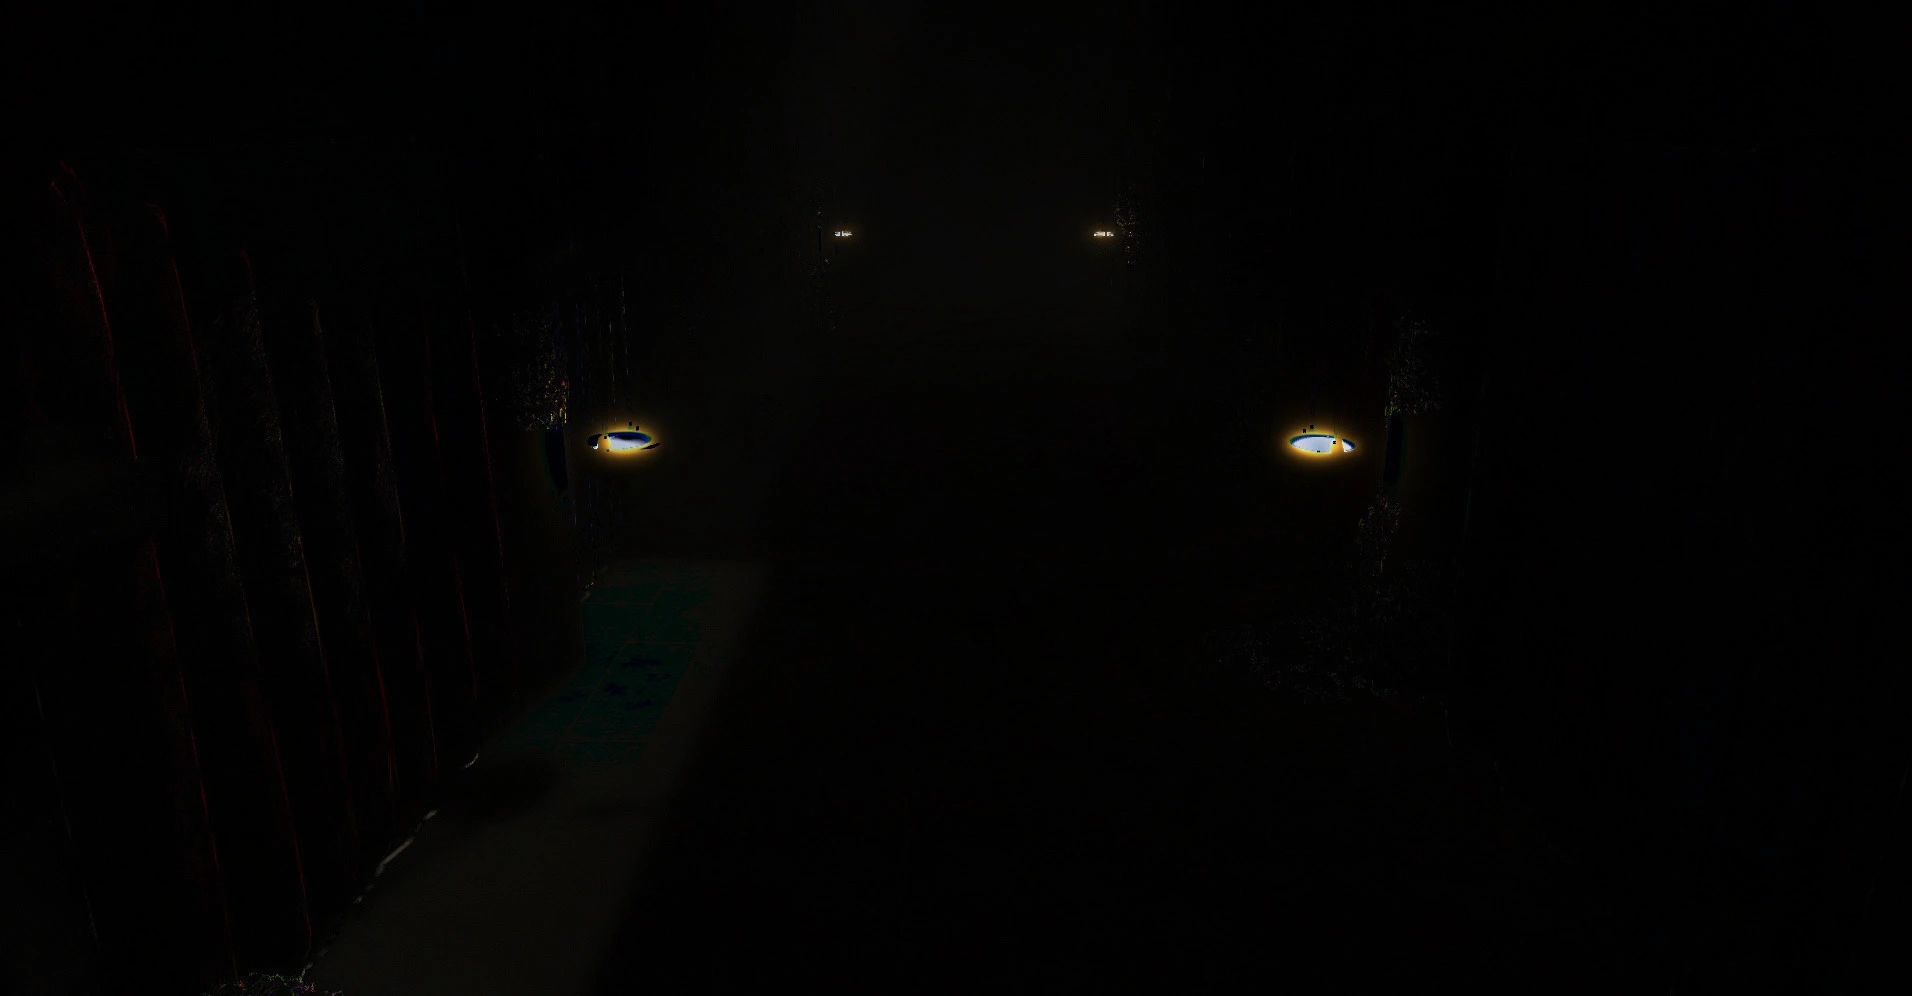
Contribution of additive blending with a bloom texture.
Bloom simulates the blurring that occurs when looking at bright lights. This effect is achieved by creating a blurred version of the screen texture and blending additively (
Ambient Occlusion
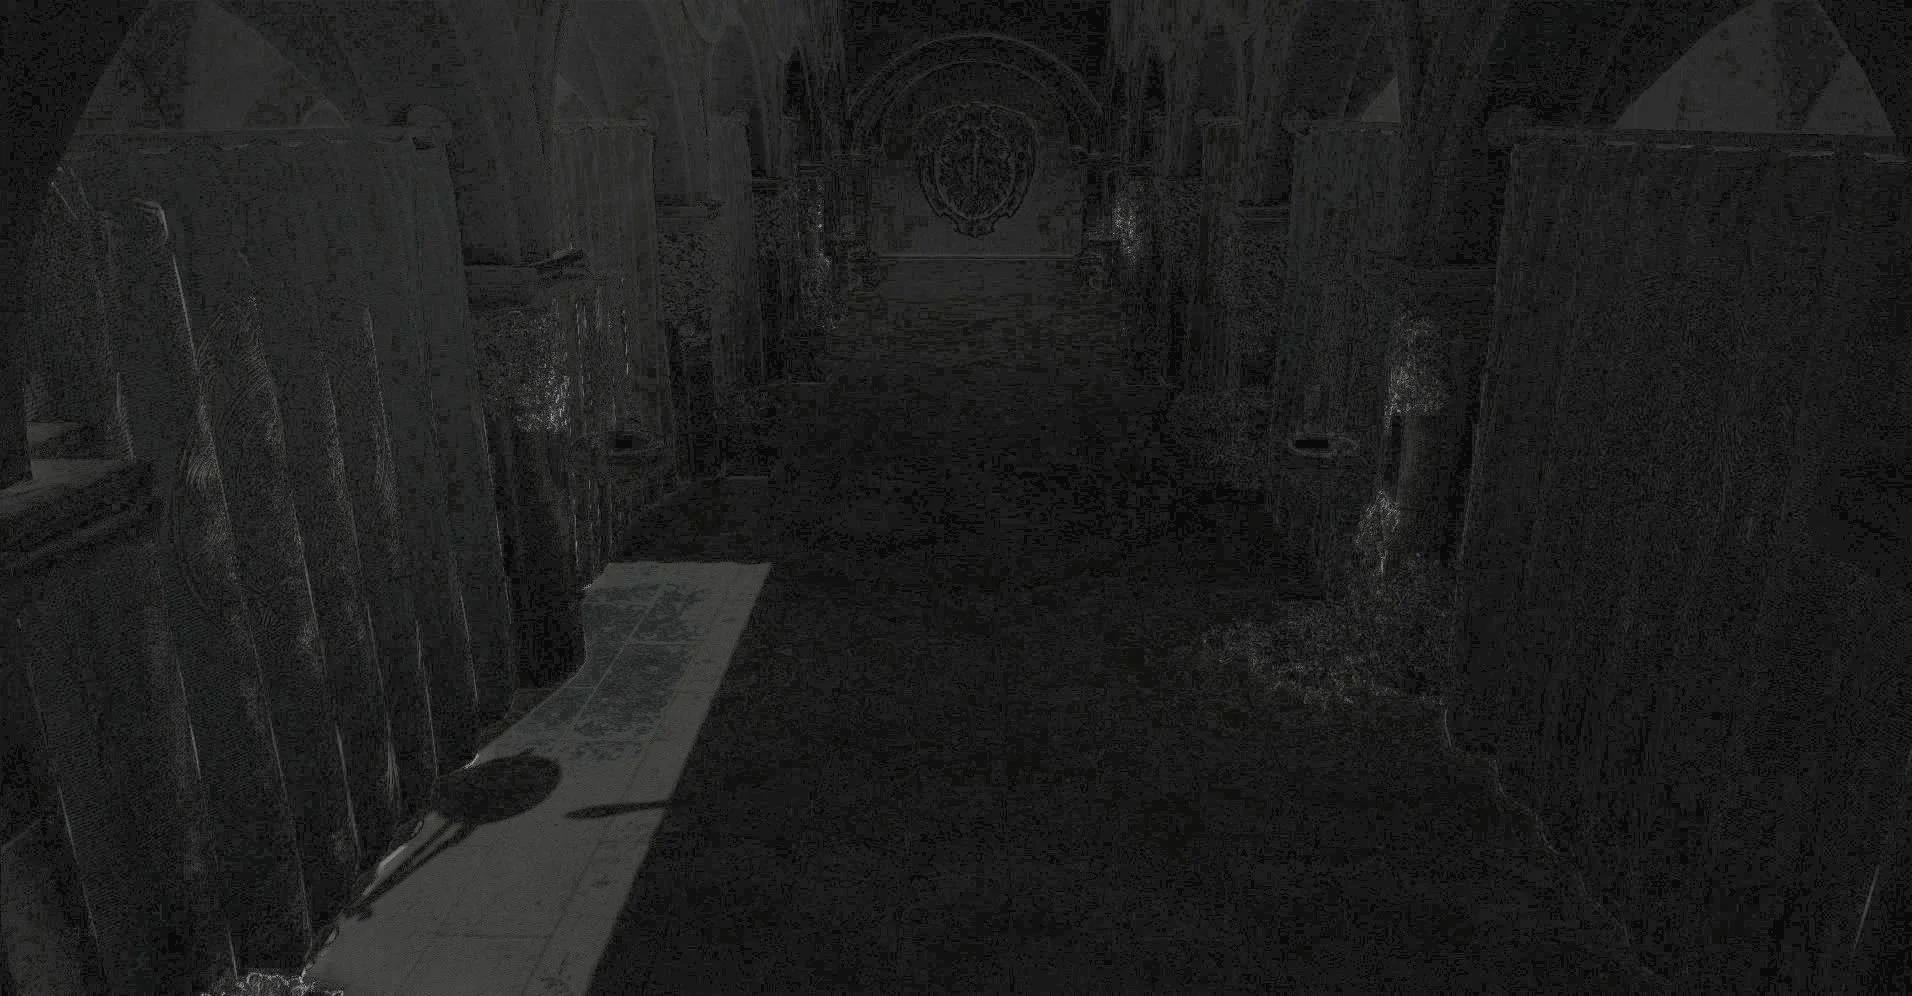
Contribution of screen space ambient occlusion, gamma has been increased and saturation decreased to highlight effect.
Screen space ambient occlusion (SSAO) calculates regions with high concavity and adds extra shadows, I have kept this extremely subtle because this is mostly a failed experiment (I replaced SSAO with a lightmapper which should produces more physically accurate results but was too slow to generate for this scene).
Exposure and Dynamic Range
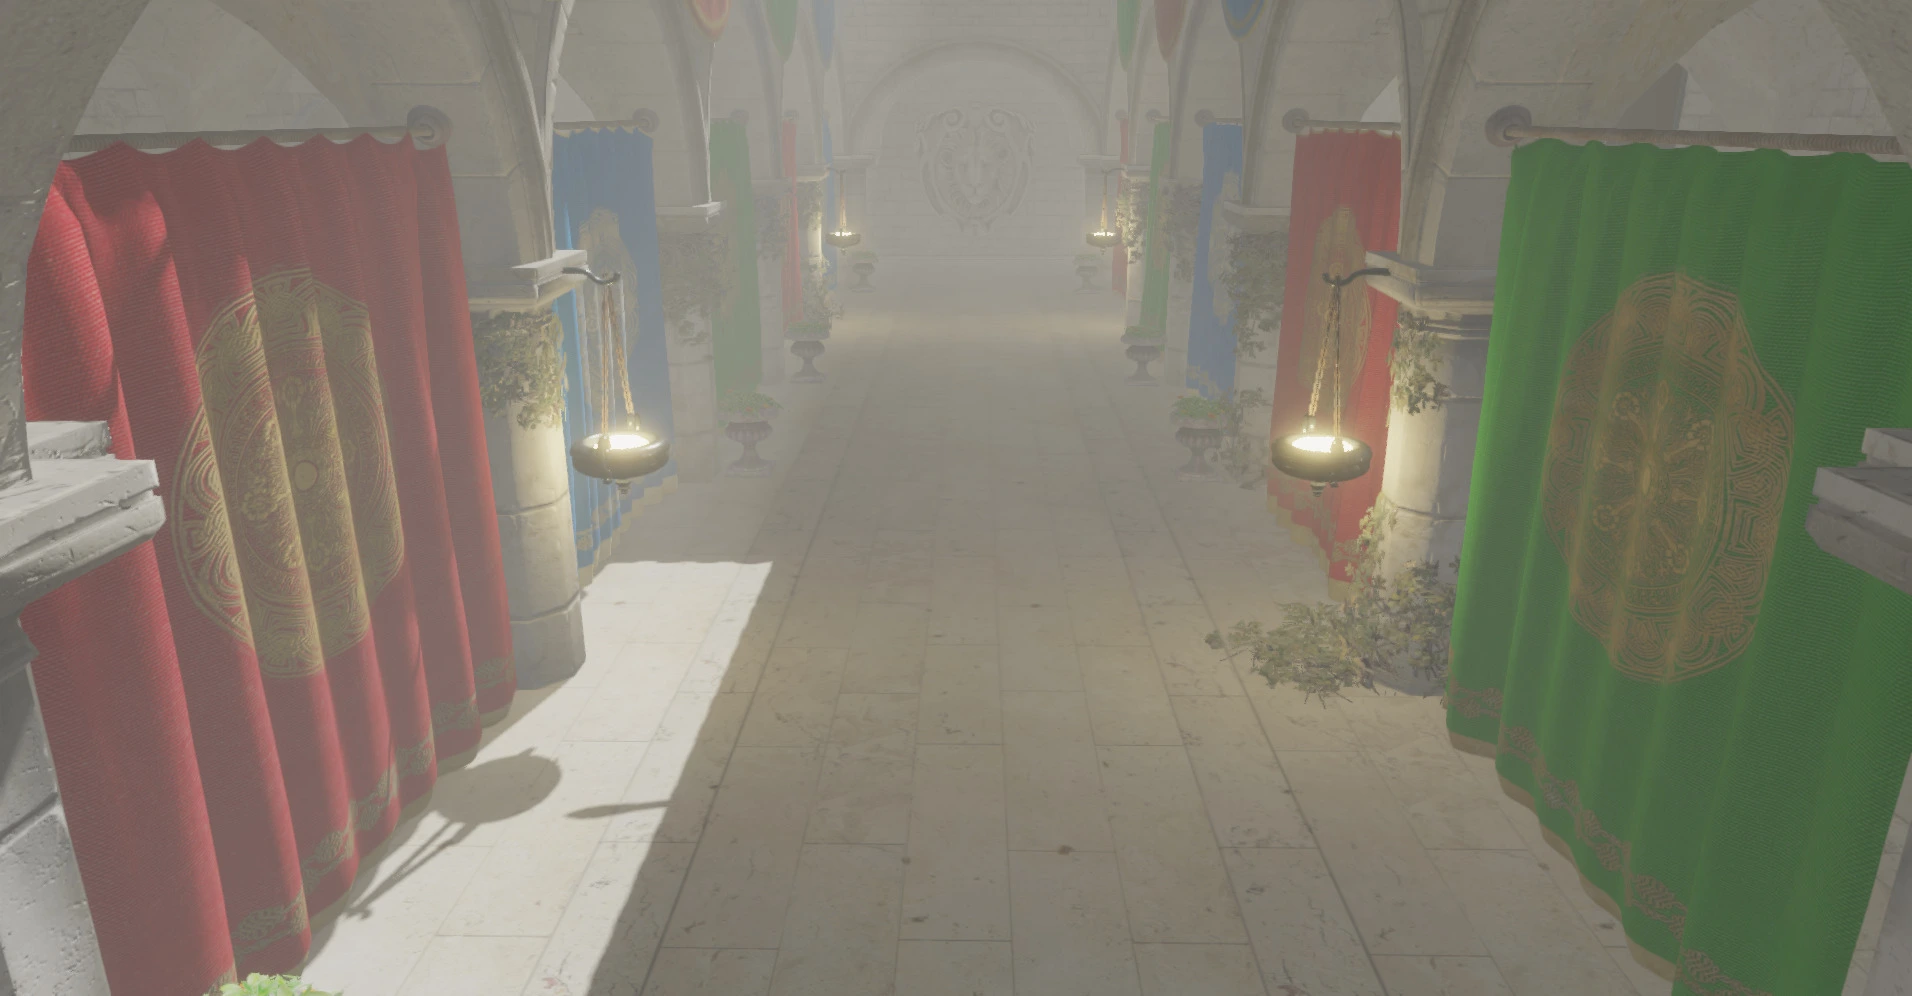
Image after eye exposure correction, tonemapping, and gamma correction.
Eye exposure correction approximates the contraction and dilation of our pupils when it is very bright or dark, similar to how a film camera can automatically adjust it's exposure. Tonemapping compresses the floating point colors (HDR) we have been using into the 0-1 range of a monitor, Gamma correction then converts the linear brightness to a curve which fits the perceived brightness of the monitor's pixels.
Effects
A simple vignette which darkens the screen corners completes the image.